
How to split a long video into shorter pieces
Upload limits, attention spans and series formats all demand shorter clips. This guide covers every way the video splitter can cut a long file into parts - by a fixed length, by a set number of equal pieces, or at exact times you choose. It walks through the controls, explains the overlap option, shows a worked example, and covers why the export takes the time it does.
When splitting a video is the right move
Platform limits are the most common reason. Many short-form platforms cap videos at sixty or ninety seconds. A three-minute clip needs to become three or four pieces before it can go up. Messaging apps often cap file sizes, and a split into smaller chunks gets each one under the limit.
Serialised content is another reason. A long tutorial works better as a five-part series, each covering one step. Podcasters split a full episode into highlight clips. Teachers break a one-hour lecture into fifteen-minute segments that match the length of a class period.
Sometimes you just want the middle. A twenty-minute recording has three minutes of useful content surrounded by silence and filler. Splitting at the right two marks gives you the good part as its own file.
Opening the video and choosing a region
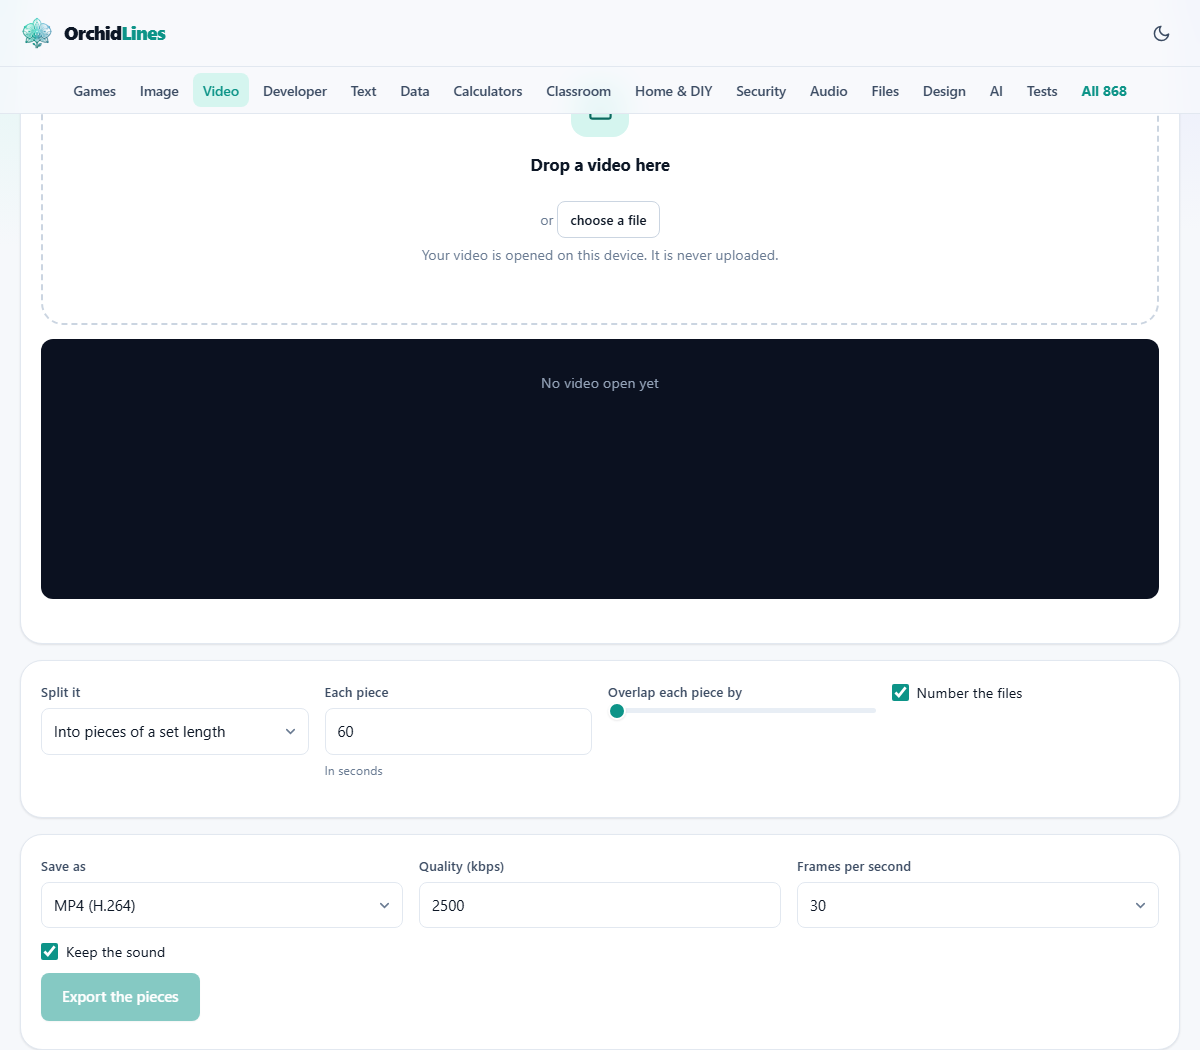
Drop a video onto the page or press choose a file. The accepted formats are MP4, WebM, MOV, M4V and MKV. Once loaded, a player appears along with the filename, duration and resolution.
A trim panel lets you narrow down the part of the video you want to split. Play the video, then press Start here and End here to mark the region. You can also drag the two handles or type exact times into the Start and End fields. This is useful when the first thirty seconds and last twenty seconds are intro bumpers you want to cut off before splitting the middle.
The three splitting modes
The dropdown labelled Split it offers three options. Into pieces of a set length is the default. The field labelled Each piece takes a number in seconds, defaulting to 60. Set it to 60 and a five-minute video produces five one-minute parts. The last piece will be shorter if the video does not divide evenly.
Into a set number of equal pieces divides the video into a count you choose. The field labelled How many pieces accepts a number from 2 to 50, defaulting to 4. A twelve-minute video split into 4 pieces gives four clips of three minutes each.
At the points I list below lets you type exact cut points into the Split at field. Enter times separated by commas, like 0:30, 1:45, 3:10. This creates pieces between each pair of times, plus one before the first mark and one after the last. Four marks produce five pieces. This mode is best when you have watched the video and know exactly where the natural breaks are.
Overlap, numbering and the split plan
The slider labelled Overlap each piece by runs from 0 to 5 seconds, defaulting to 0. When set to 2, each piece starts two seconds before the end of the previous one. This small overlap means nothing is lost at the joins when the pieces are watched in order. It is especially useful for a tutorial series where cutting mid-sentence would confuse the viewer.
The checkbox labelled Number the files adds a sequential number to each output filename. The first piece gets a 1, the second a 2, and so on. Leave it ticked unless you plan to rename the files yourself.
Before you export, a plan appears below the settings. It lists every piece with its start time, end time and length. Check this list carefully. If a cut falls at a bad moment - mid-word or mid-action - adjust the times or switch to manual marks.
Export settings and the download
The Save as dropdown picks the output format. Quality sets the bitrate in kilobits per second, defaulting to 2500. Higher values preserve more detail but produce larger files. Frames per second offers 24, 30 and 60, with 30 as the default.
The checkbox labelled Keep the sound is ticked by default. Uncheck it if you want silent clips, perhaps because you plan to add separate narration later.
Press Export the pieces to begin. Each piece is recorded one after the other. A progress bar shows the current piece and the overall progress. Each piece downloads as soon as it finishes, so you do not have to wait for the entire batch before getting the first file.
The total time for the export is roughly the length of the entire video, because each piece is played and recorded in real time. A ten-minute video split into five pieces still takes about ten minutes total, not two minutes per piece.
Worked example: a webinar cut into chapters
You recorded a fifty-minute webinar and want to post it as four chapters for a course platform. Drop the file on the page. The player shows it is 50:14 long.
You already noted the chapter breaks while watching: the introduction ends at 3:20, the first topic runs from 3:20 to 18:45, the second from 18:45 to 34:00, and the wrap-up runs from 34:00 to 50:14. Set Split it to At the points I list below. Type 3:20, 18:45, 34:00 into the Split at field.
The split plan appears showing four pieces. Piece 1 runs from 0:00 to 3:20. Piece 2 runs from 3:20 to 18:45. Piece 3 runs from 18:45 to 34:00. Piece 4 runs from 34:00 to 50:14. The lengths are about 3, 15, 15 and 16 minutes.
Set Overlap each piece by to 2. Now each piece except the first starts two seconds early, so the last sentence of the previous chapter is repeated at the start of the next one. Leave Keep the sound ticked. Leave Quality at 2500 and Frames per second at 30.
Press Export the pieces. The first file downloads after about three and a half minutes. The others follow at intervals matching their lengths. The whole batch takes about fifty minutes. When it is done you have four numbered MP4 files ready to upload.
Why the export cannot be instant
Desktop video editors can split a file in seconds because they copy the compressed data straight through without decoding it. They just cut the container at the right byte offset. A browser cannot do that. It has no access to the raw compressed stream. Instead it plays the video internally and records what comes out.
The trade-off is precision. A desktop splitter that copies data without decoding can only cut at keyframes, which may be several seconds apart. The cuts land close to where you asked, but not exactly. This tool cuts exactly where you asked, down to the frame, because it decodes and re-encodes everything.
The cost is time and a small loss of quality. Each piece is a fresh encode, so it is not a perfect copy of the original. Raise the Quality setting if sharpness matters. For most social media and course platforms, the default of 2500 kbps is enough.
Problems you might run into
The most common complaint is that it takes too long. There is no shortcut in a browser. If the total length is more than you want to wait, consider splitting the video with a desktop tool instead.
Cuts landing in the middle of a sentence happen when you split by length or by count. The tool does not know where sentences end. Use manual marks if clean cuts matter. Watch the video first, note the natural break points, and type them in.
The last piece being very short is normal when splitting by length. A seven-minute video split into sixty-second pieces gives six full pieces and one that is only ten seconds long. If that bothers you, switch to splitting by count and set the number to 7 instead.
A blank or corrupted piece usually means the browser had trouble with a particular section of the video. Try converting the source file to a standard MP4 first using another tool, then split the converted version.
Privacy and where the work happens
Your video file stays on your own computer the entire time. The browser reads it from your local drive, plays each section internally, records the output, and hands you the pieces as downloads. No server is involved and no upload ever starts.
This matters because people often split personal recordings - private meetings, family events, medical consultations. Nothing in those files ever leaves your machine. You can prove this by disconnecting from the internet after loading the page and running the split. It works exactly the same way, which would be impossible if any server were needed.
There is no file size limit imposed by a remote service either. The only cap is your own browser's memory. Long recordings of an hour or more work fine, though the export will take a while since it runs in real time.