
Cutting and trimming audio files using a visual waveform
Whether you need a 30-second ringtone from a four-minute song, a clean clip from a rambling interview, or just want to chop the silence off the start and end of a recording, an audio cutter is the tool. This page shows the sound as a waveform you can see and drag across, lets you keep or delete any part, and adds fades to smooth out the edges. This article explains every control, walks through a practical example, and covers the format and undo details that are easy to overlook.
What this tool does and who it is for
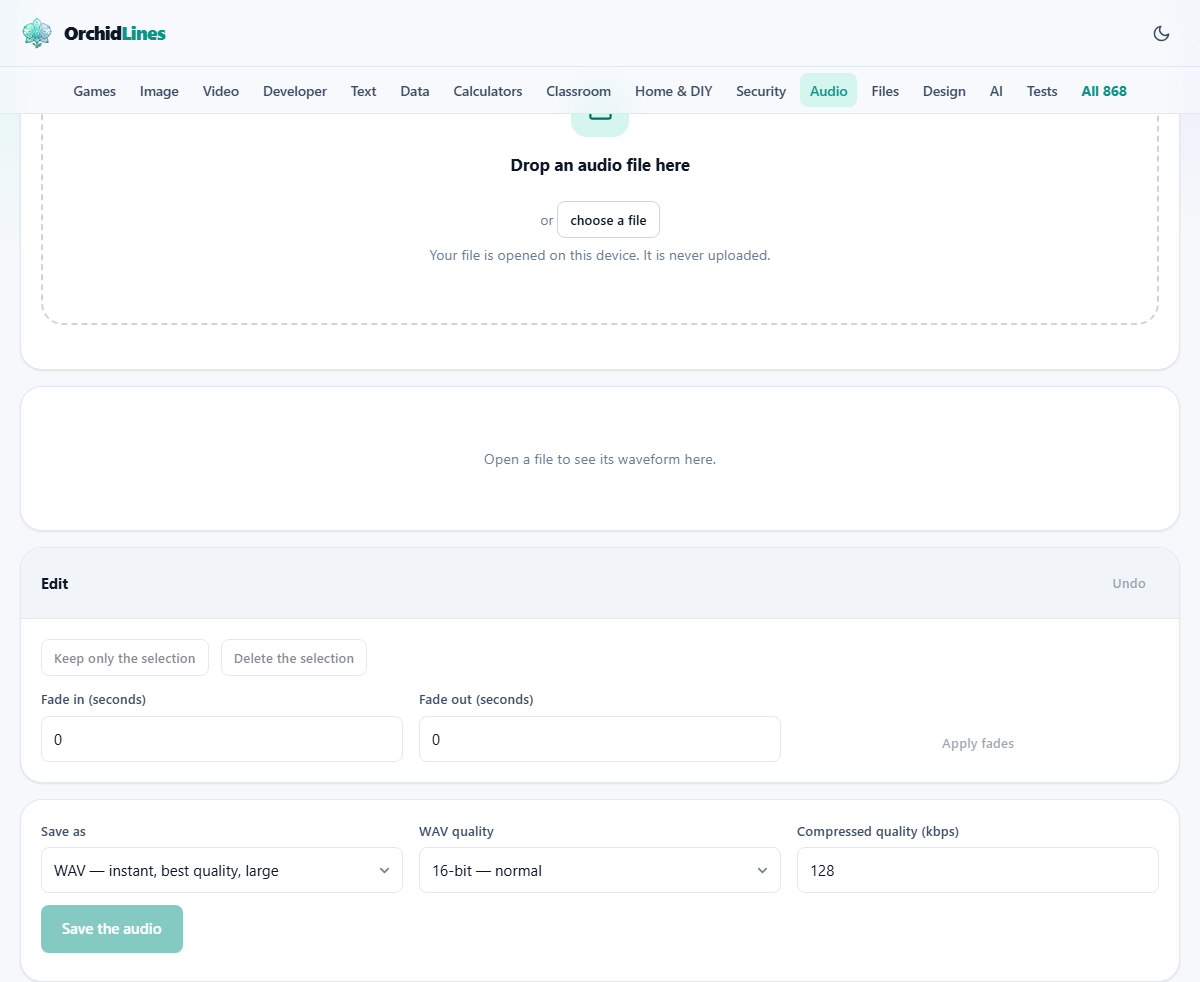
The audio cutter takes a single audio file, shows you what it looks like as a waveform, and lets you select any portion of it to keep or to throw away. Every edit is instant and can be undone. When you are happy with the result, you save it as a new file in the format you choose.
Podcasters use it to cut dead air from the front and back of a recording. Musicians use it to isolate a few bars from a long rehearsal take. Students trim lecture recordings down to just the part they need to review. Anyone who has ever wanted a custom ringtone or notification sound has a use for it. The key difference from a full audio editor is that this does one job well - cutting - and keeps things simple enough that you do not need to learn a timeline or mixer.
Getting a file in
Drag an audio file onto the drop zone, or press the choose a file button to open a file picker. The tool accepts MP3, WAV, M4A, OGG, FLAC, OPUS and several other formats. Your browser decodes whatever you give it, so if your browser can play it, the cutter can open it.
Once the file loads, a waveform appears on a canvas. The shape shows the volume at each moment. Tall spikes are loud parts and flat stretches are silence or near-silence. This visual map is the whole point: you can see where a song starts, where a speaker pauses, and where noise lives, all at a glance.
Selecting with the waveform
Drag across the waveform to create a selection. A shaded band highlights the chosen region. Drag either edge of the band to adjust the start or end point. The display below the waveform shows three numbers: the start time, the end time, and the length of the selection.
Scroll the mouse wheel to zoom in. The closer you zoom, the more detail you see, and the easier it is to place a cut exactly between two words or at a gap in the music. When zoomed in, a scroll bar appears underneath so you can move along the timeline. Press space to play or stop at any time. The Select all button puts the selection across the entire file.
Keep or delete - the two editing actions
The Edit panel has two buttons. Keep only the selection throws away everything outside the shaded band and leaves you with just the selected portion. Delete the selection removes the shaded part and closes the gap, joining the audio before and after the cut. Between those two operations, you can extract any piece you want or remove any piece you do not want.
Every action is recorded. The Undo button steps back through up to twenty edits. That means you can try an aggressive cut, listen to the result, undo if it sounds wrong, and try again without reopening the file. This makes experimenting safe and fast.
Adding fades to smooth the edges
Two number fields sit below the editing buttons. Fade in (seconds) and Fade out (seconds) each accept a value from 0 to 60 in steps of a tenth of a second. After setting the values, press Apply fades. The volume ramps up from silence at the start and back down to silence at the end over the durations you set.
Fades solve a common problem. When you cut audio in the middle of a waveform, the sudden jump from sound to nothing creates a click. Even a tiny fade of a tenth of a second is enough to eliminate it. For a ringtone, a one-second fade in and a two-second fade out gives a polished result that does not startle the listener when the phone rings.
Choosing a format and saving
The Save as dropdown offers WAV plus any compressed formats your browser supports, which typically includes M4A and WebM. WAV quality lets you pick 16-bit for normal use, 24-bit for studio quality, or 32-bit float for further editing in another program. For compressed formats, Compressed quality (kbps) sets the bitrate, from 32 to 320 with 128 as the default.
WAV saves instantly no matter how long the audio is. Compressed formats take roughly as long as the audio lasts, because the browser encodes them by playing through a live stream. Press Save the audio and a progress bar tracks the encoding. The finished file downloads to your computer. The original file on your disk is never changed.
MP3 is an option. No browser includes an MP3 encoder, so this page loads a small open-source one the first time you choose it. M4A is the closest alternative. It produces smaller files than MP3 at the same quality and plays on the same devices.
A worked example - making a ringtone
You have a song as an MP3 and you want the chorus as a ringtone. Drop the file onto the page. The waveform loads and you can see the verse, the chorus, and the bridge as different shapes in the wave. Scroll to zoom in on the chorus area. Drag across the waveform to select about 30 seconds - most phones cut ringtones off at 30 to 40 seconds, so there is no point going longer.
Drag the left edge of the selection so it starts just before the first word or beat. Drag the right edge to end after the last note you want. Press Play to hear the selection and make sure it sounds right. Adjust the edges if anything is cut off.
Now set Fade in to 0.5 seconds and Fade out to 1.5 seconds, and press Apply fades. Press Play again. The ringtone now starts gently and fades out instead of stopping dead. Press Keep only the selection to remove everything else. Set Save as to M4A, leave the bitrate at 128, and press Save the audio. Your ringtone downloads in about 30 seconds.
Common mistakes and how to avoid them
The most common complaint is a click at the start or end of the saved file. The fix is always a short fade. Even a tenth of a second removes the pop that a hard cut leaves behind.
Another frequent issue is cutting in the wrong place because the waveform was zoomed too far out. Speech gaps that look clear at full zoom are sometimes in the middle of a word when you zoom in close. Always zoom in before making the final cut on speech recordings.
People sometimes wonder why saving takes so long. If you chose a compressed format, the encoding runs in real time. A five-minute clip takes about five minutes to encode. Switch to WAV if you need it fast and convert later.
When this tool is not the right fit
If you need to split a long file into many separate named tracks, the track splitter is a better choice. It finds the gaps automatically and packages everything into a zip with titles and tags inside each file.
If you need to mix multiple audio sources together, add effects, or do anything beyond simple cutting and fading, you need a full audio editor. This cutter is designed for the single operation of selecting and removing portions of one file, and it does that job quickly and cleanly without the learning curve of a multi-track workspace.
Everything stays on your machine
Your audio file is never sent to any server. The browser opens it, decodes it into raw samples in memory, and all the editing happens right there on your device. You could disconnect from the internet after the page loads and every feature would still work. There is no size or length limit set by the tool - the only limit is how much memory your device has. Files up to an hour are fine on most computers.