
Getting the frame right after the shot
Cropping looks like the simplest edit there is, and mostly it is. Even so, a few details decide whether the result actually fits the place it is going: the ratio lock, the pixel numbers, and the way you save. This article goes through each control on the page, works a real photo from start to finish, and lists the traps that catch people most often.
What a crop changes, and what it leaves alone
A crop throws pixels away. That is the whole operation. The ones you keep are not stretched, sharpened or recalculated in any way, which is why a crop never makes a photo worse on its own. Compare that with resizing, where every pixel in the output is a fresh blend of several old ones.
People crop for two different reasons, and it helps to know which one you are doing. The first is composition: the lamp post at the edge goes, the subject moves off centre, the empty sky shrinks. The second is shape: a slot on a page wants a wide strip or a perfect square, and your photo is neither. The controls on this page serve both jobs, but you will lean on different ones for each.
Three ways to get a picture in
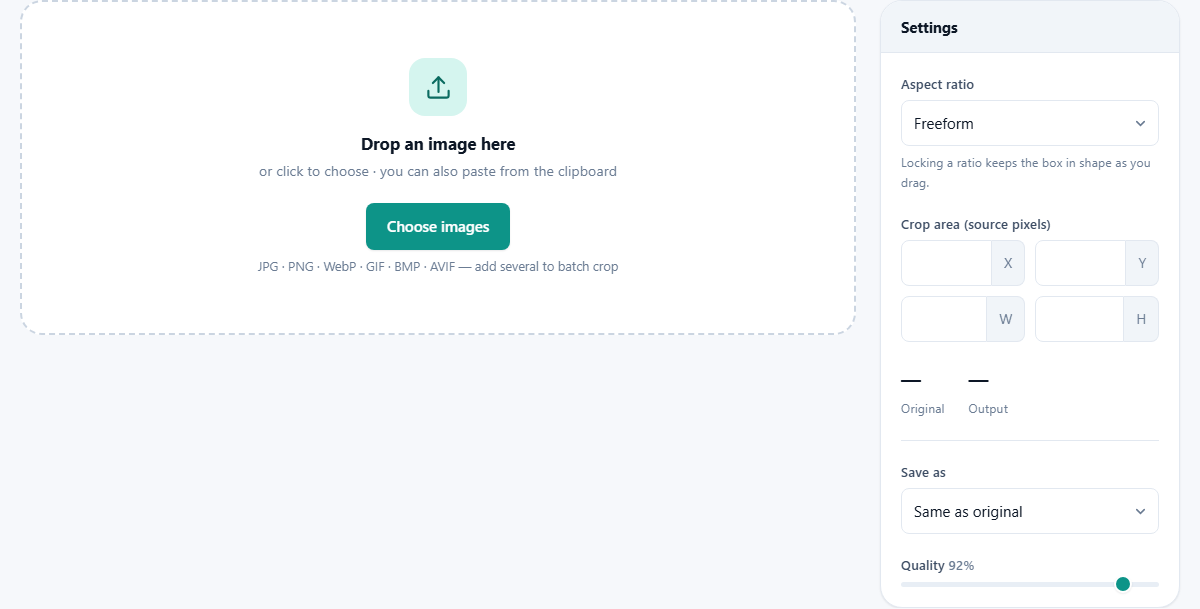
The drop zone takes files by drag and drop, by clicking to open a file picker, or by pasting straight from the clipboard, which is handy when the thing you want to trim is a screenshot you took two seconds ago. All the common formats open here: JPG, PNG, WebP, GIF, BMP and AVIF, plus the HEIC files that phones like to produce.
You can add one image or a pile of them in the same go, and more can join later through the Add more button. Clear all empties the workspace, and Reset crop puts the box back to its starting position on the current picture without touching anything else. None of these buttons ever alter the files on your disk; they only change what the page is holding in memory.
The box, the handles and the live numbers
Once a picture is loaded, a rectangle sits on top of it. Drag anywhere inside to slide the whole box. Drag any of the eight handles, one on each corner and one on each side, to grow or shrink it. A small tag under the box reports its size the whole time, and that figure is in the pixels of your original file, not in screen pixels.
For exact work, skip the mouse. The settings rail has four number fields labelled X, Y, W and H. X and Y are the distance of the box from the left and the top edges. W and H are the width and height of the area you keep. Type into any of them and the box jumps to match. Below the fields, two readouts compare the Original size with the Output size, so you always know what you are about to produce.
Ratio locks, and the exact size tick
The Aspect ratio list is the shape control. Left on freeform, the box goes wherever you drag it. Pick a ratio and the box keeps that proportion no matter which handle you pull: square for profile pictures, widescreen for video stills, paper shapes for printing, and a passport shape for official photos.
Some presets carry a pixel size as well as a shape, and those show an extra tick box. Ticked, the cropped area is scaled to that exact size when it saves. Unticked, you keep the raw cropped pixels at whatever size they happen to be. One caution on the passport preset: it gets the proportions right, and nothing more. Official photos also have rules about how large the head must be and what the background looks like, and no ratio lock can check those for you.
How the result is written out
The Save as list offers four choices: keep the original format, or switch to JPG, PNG or WebP. When a format that compresses is chosen, a Quality slider appears, running from 30 to 100 with 92 as the default. That default is a sensible place to leave it for photos going online.
One control only shows itself when it is needed. If your picture has see-through areas, a PNG logo for instance, and you save to a format that cannot store them, a colour well appears so you decide what fills the empty space. White is the default, but anything goes.
A banner, worked from start to finish
Say you have a 6000 by 4000 holiday photo and a website header that wants something wide and low. Drop the photo in. Choose the widescreen ratio from the list, and the box snaps to proportion. Drag the top handle down until the size tag reads about 5000 by 2812, then slide the box so the horizon sits in the lower third. Because the ratio is locked, every handle you touch keeps the shape true, so you can concentrate on what stays in the frame rather than on the arithmetic.
Now check the rail. The Output readout confirms the size, and X and Y show exactly where the cut begins, which is worth noting if you ever need to repeat it. Set Save as to WebP, nudge Quality to 85, and press Crop and download. The file lands in your downloads folder a moment later, and your original is untouched on disk.
Cropping a whole folder the same way
Load several images and a strip of thumbnails appears under the stage. Set the crop up on whichever one is showing, then press Apply crop to all. The same framing is copied onto every other picture, scaled in proportion, so it behaves sensibly even when the photos are different sizes. Click through the strip to check each one and adjust any stragglers by hand.
When they all look right, the Crop all and ZIP button processes the lot and hands you a single archive. This is the fast route when a set of product listings, a gallery, or a batch of team photos all need the same shape. A progress bar tracks the work as each file is cut and packed, and on an ordinary laptop even a few dozen large photos take only seconds.
Composition habits worth borrowing
Since the box is free to go anywhere, use it to try framings the camera never saw. Put the subject a third of the way in from a side rather than dead centre and most photos immediately feel more deliberate. Tighten until anything that does not add to the story falls outside the line. Leave breathing room in the direction a person is facing or moving.
It costs nothing to experiment here, because the original never changes. Cut a bold square from a wide scene, download it, then reset and try a letterbox strip from the same shot. Two crops of one photo can serve two completely different places, and both takes are always available since the source file stays whole.
Where people get stuck
A few situations come up again and again, and each has a quick answer.
- The box refuses to move any further. It has hit the edge of the picture. A crop can never include area that does not exist, so make the box smaller first.
- The result looks soft when displayed large. Cropping kept the pixels perfect, but there are fewer of them now. A tiny kept region blown up to fill a screen will always look thin.
- Saving over and over as JPG. Each save compresses again. Do all your experiments from the original, not from a previous crop.
- Hoping to fix a tilted horizon. There is no rotate control here; this page cuts rectangles that are square to the frame. Straighten the photo elsewhere first, then crop.
When a different tool is the better answer
Cropping is not the fix for everything that involves size. If the whole picture is simply too big, and you want all of it kept, that is a resize job, not a crop. If you are after a round profile picture with a see-through outside, the Circle Crop tool exists for exactly that, and this page only cuts rectangles. And if the problem is an object in the middle of the frame, no amount of edge trimming will reach it.
A good rule: crop when part of the picture should go, resize when all of it should stay but smaller, and reach for an editor when something inside the frame needs to change.
Nothing to send, nowhere to send it
Every step described above, from drawing the box to zipping a batch, is performed by your own browser on your own machine. The page never transmits a photo, which you can confirm by loading it and then switching off your connection; the cropping carries on regardless.
That matters more for cropping than it might seem. The pictures people crop are often the personal ones, family shots, identity photos, screenshots with details in the margins. Trimming them here means the frames you discarded were never in anyone else's hands to begin with, and there is no account, no queue and no watermark involved at any point.