
Outlasting the computer on a board that closes in on itself
How the hedge rule works, why every stone costs more than one square, what the three clearing sizes change, and the counting habits that let you force the computer into the last corner.
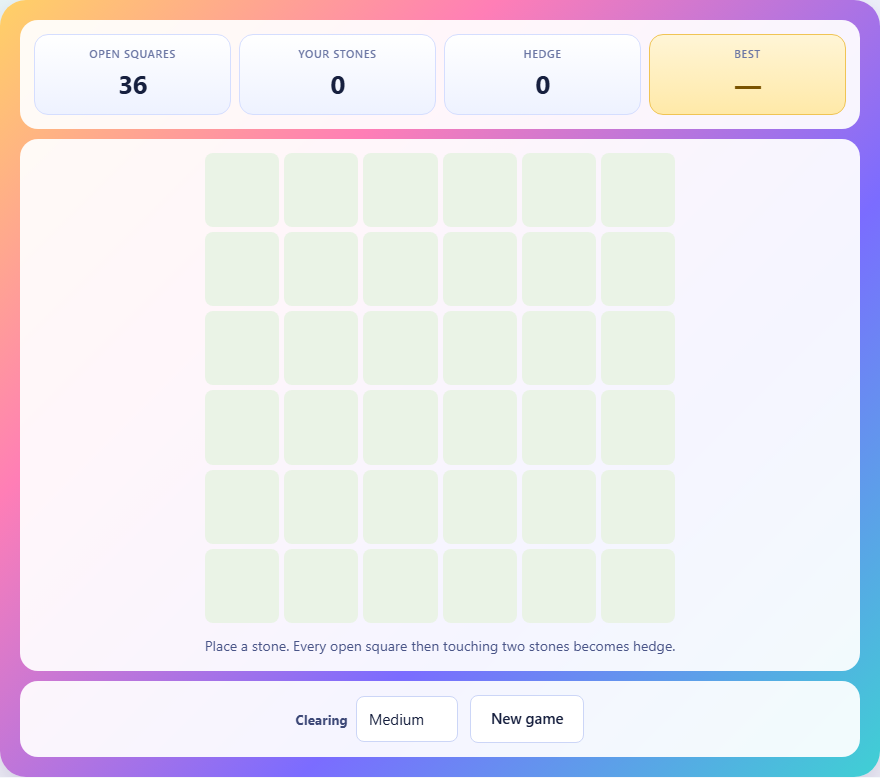
The rules in one paragraph
You and the computer take turns placing stones on a grid. After each placement, the thicket grows: every open square that now touches two or more stones, regardless of who placed them, is swallowed by hedge and removed from play for good. Whoever cannot place a stone on their turn loses. There is no score, no points, and no draw. The last player able to place a stone wins.
How the hedge grows
The hedge rule checks the board after every single placement. For each open square, it counts how many of that square's four neighbours are stones. Only squares sharing an edge count, not diagonals. If an open square touches two or more stones, it becomes hedge. Multiple squares can be swallowed in the same turn if a single stone pushes several neighbours past the threshold.
The hedge does not care who owns the stones. Your stones and the computer's stones count equally. A square between one of your stones and one of the computer's stones is just as doomed as a square between two of yours. Once a square becomes hedge, it never clears. That is why the board only ever shrinks and the game always ends.
Placing and the cost of a move
Tap any open square to place your stone. Hedge squares and occupied squares are out of play and cannot be tapped. After you place, the game briefly tells you how many extra squares the hedge took. That number is the real cost of your move.
A stone placed far from everything else costs exactly one square, the one it sits on. A stone placed next to an existing stone costs that square plus every other open gap around the existing stone that now touches two. Playing next to your own previous stone is often the most expensive move on the board because it closes down multiple nearby squares at once.
The three clearing sizes
The Clearing dropdown offers Small, Medium and Large. Small is a five-by-five grid, Medium is six-by-six, and Large is seven-by-seven. Larger boards give more room to spread out, but they also give the computer more room to manoeuvre.
On the Small board, games end quickly and a single wasteful move can decide the outcome. The computer searches ahead with a depth of five moves on Small and Medium. On Large, the board has so many squares that the computer searches to depth four instead, which keeps the response time short while still playing well.
Start on Small to learn how the hedge behaves. Move to Medium once you can win regularly. Large is the most open and rewards careful long-term planning.
Spreading out in the opening
In the first few moves, the board is wide open and stones are far apart. A stone placed with no other stone beside it costs exactly one square. Two stones that are two or more squares apart do not trigger any hedge growth at all. This makes the opening a race to claim territory cheaply.
The worst opening move is placing right next to the computer's first stone. That immediately creates hedge around both stones, burning multiple squares for no strategic gain. Instead, place your early stones near the edges or corners, spread apart, so each one costs as little as possible.
Think of the opening as budgeting. Every square that becomes hedge is one fewer move that either player can make. The player who wastes fewer squares in the opening has more breathing room later.
Corners and edges are cheap
A corner square has only two neighbours. A stone placed in a corner can trigger hedge growth in at most two directions. An edge square has three neighbours, and a centre square has four. Since the hedge rule fires when an open square touches two stones, a corner placement endangers fewer surrounding squares.
This makes corners the safest early moves. Edges are the next safest. Centre squares are the most dangerous because every gap around them has four potential neighbours, so a stone there can close down squares in every direction.
Parity and counting the remaining moves
The single most important idea in Thicket is parity. You go first. If the total number of moves in the game is odd, the last move is yours and you win. If it is even, the computer takes the last move and you lose. Everything else in the game is about controlling whether that total comes out odd or even.
Near the end, when only a handful of squares remain, you can often count the moves left by hand. Each stone placed will trigger a certain number of hedge closures, and you can trace the sequence to see who gets stuck first. If the count comes out wrong, you need to find a move that changes it, either by closing one extra square or one fewer.
The computer also thinks this way. Its evaluation function checks the parity of open squares at every node in its search tree. When it finds a move that flips parity in its favour, it takes it.
Forcing the computer into expensive moves
If you can place your stone so that the computer's best response is next to an existing stone, you force it to close down several squares at once. That burns through the board faster on the computer's turn, which shifts the move count toward your side.
One way to set this up is to leave a narrow corridor with two stones on opposite sides. The only open squares in the corridor are all touching at least one stone already. When the computer plays in the corridor, the second stone appears and the corridor collapses. You spent nothing while the computer lost multiple squares.
The middle game collapse
The opening is quiet because stones are far apart. The middle game is where the board falls in on itself. As more stones appear, the gaps between them shrink. A stone that would have cost one square in the opening now costs three or four because neighbouring gaps have stones on the other side.
Watch for the moment when the board transitions from open to crowded. That is when every move starts to feel expensive. The player who handled the opening better enters this phase with more open squares under their control. The player who clustered early is already boxed in with few safe moves left.
When the collapse begins, slow down and count. The exact number of open squares and whose turn it is tells you whether you are winning or losing, and a single clever placement can change the parity.
Common mistakes that hand the game away
- Playing next to your own stone. This is almost always the most costly possible move. Spread out unless you have a specific reason to cluster.
- Ignoring the count of remaining open squares. Near the end, the difference between winning and losing is often just one square. Count before you place.
- Reacting to the computer's moves instead of planning your own. Thicket rewards thinking two or three moves ahead. The computer is doing exactly that, so you need to as well.
- Placing in the centre of the board early. Centre squares have four neighbours, so they trigger the most hedge growth. Edges and corners are cheaper.
- Forgetting that all stones count equally for hedge growth. Two of your own stones next to a gap close it just as surely as one of yours and one of the computer's.
How the computer opponent thinks
The computer uses alpha-beta search with a memory of positions it has already evaluated. It judges unfinished positions by whether the number of open squares is odd or even, which estimates who runs out of moves first. When few squares remain, the search reaches the bottom of the tree and plays exactly.
It shuffles equally good moves at random so it does not repeat the same game twice. Everything runs on your device, and the thinking happens in under a second even on the largest board.
Privacy and where the game runs
All of the game logic, including the computer's search and the hedge calculations, runs entirely in your browser. No data is sent to any server. The game works offline after the page has loaded, and closing the tab is the only cleanup needed.