
Winning the colour-mixing territory game
How the three primaries mix into secondaries, why every piece you place is also a gift, the computer's two-ply thinking, and the board-reading habits that turn colours into captured territory.
The single rule that drives the whole game
Two players take turns placing a primary colour on any empty square of a seven-by-seven grid. The three primaries are red, yellow, and blue. A primary sitting alone does nothing. The moment you place one next to a different primary, that neighbour mixes into a secondary colour and becomes yours.
Red beside yellow makes orange. Yellow beside blue makes green. Red beside blue makes purple. These are the only three mixes. Once a square has turned into a secondary it is finished; it cannot change colour again and it cannot change owner. When every square is full the player who owns more secondaries wins.
What counts as a neighbour
Only the four squares that share an edge with your placement matter. Diagonals never mix. A square in the middle of the board has four neighbours, an edge square has three, and a corner square has two. This geometry shapes the entire strategy: the middle is where the big captures happen, and the corners are where you can park a primary with the smallest chance of losing it.
Placing a primary next to the same primary does nothing. Two red squares side by side sit there without mixing. This is how you block: if an opponent's red sits in a dangerous spot, place your own red next to it and the threat is gone.
Controls and what you see on screen
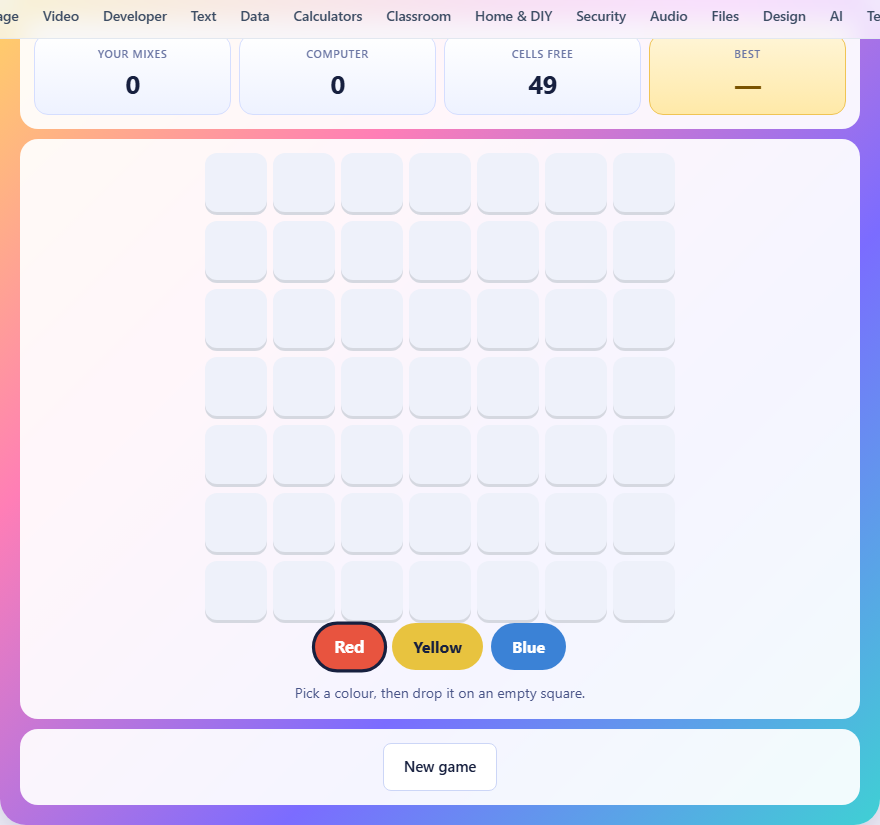
Below the board sit three colour buttons: red, yellow, and blue. Tap one to select it, then tap any empty square on the board to drop it there. The currently selected colour is highlighted. You can change your selection as many times as you like before placing.
The stats bar above the board shows your mixes, the computer's mixes, and how many cells are still free. The board itself colours each square: primaries show their colour, secondaries show their mixed colour with a mark for which player owns them. When the board fills up, the game announces the winner and shows the final count.
Why every primary is both a threat and bait
This is the central tension. You cannot score without placing a primary, but a primary on the board is a target. Place red in the middle and the opponent can drop yellow next to it, mixing your red into their orange. You gain nothing and they gain a locked square.
The trick is to place primaries where they threaten multiple opponent squares at once, so that even if the opponent mixes one of your pieces, you mix two or three of theirs on the same turn. A single placement that converts three neighbours is a devastating swing, and setting up those moves is the whole art of the game.
One drop can mix several at once
A square in the middle of the board touches four neighbours. If three of those hold different primaries, all three mix at once when you place the right colour. That is three secondaries captured in a single move, and it is the kind of play that decides the game.
Setting up a multi-mix requires patience. You need several opponent primaries clustered together, and you need the empty square that touches all of them to stay open until your turn. The computer will try to block these, so you sometimes need to build the cluster on one side of the board while distracting on the other.
The same-colour block
Placing the same colour next to a primary has no effect. This is your main defensive tool. If the opponent has a yellow square exposed and you want to place nearby without handing them a mix, drop another yellow. It sits next to the threat harmlessly and takes up a square the opponent might have used.
The block is also how you fill the board without giving away points in the endgame. Late on, almost every empty square sits next to something mixable, and the player who can fill a spot with a matching primary instead of a clashing one wastes fewer resources.
Edges, corners, and the middle
A corner square touches only two neighbours, so placing a primary there risks losing it to at most two future drops. The middle of the board touches four, so a primary there is exposed to four possible attacks. Early in the game, edge and corner placements are safer. They give the opponent less to work with.
But safety and scoring are opposites. A square with four neighbours can produce a four-way mix that wins the game. A corner can produce at most a two-way mix. The computer values the centre slightly more than the edge, so it tends to compete for the middle rows early. Letting it have the middle without a fight is usually a losing plan.
How the computer thinks
The opponent looks two moves deep. For every empty square and each of the three colours, it works out what it would capture, then considers the best single reply you could make and subtracts that from its score. A move that takes three squares but hands you four on the next turn is rejected.
It also adds a small bonus for squares near the centre, since those have more neighbours and lead to bigger future captures. There is a tiny random tie-breaker so that it does not always play the same game. It is not unbeatable, but it will not fall for a setup that hands it three mixes unless the payoff on the next move is even bigger.
Mistakes that hand the game away
- Placing a different primary next to an opponent's exposed piece without checking what they can mix back. Count their options before you drop.
- Ignoring the colour you select. Red, yellow, and blue are not interchangeable; each one mixes with two of the others and blocks against the same colour. Choosing the wrong one can turn a safe square into a gift.
- Focusing on primaries owned instead of secondaries. A board full of your primaries and no secondaries is a loss. Only mixed squares count in the final tally.
- Filling the board too fast without setting up multi-mixes. A single three-way capture is worth more than three separate one-way captures because it happens in one turn instead of three.
- Leaving the middle to the computer. The centre squares are the richest targets on the board, and conceding them early means the computer reaches the multi-mix positions first.
Late-game tactics when the board is nearly full
With only a handful of empty squares left, every placement is forced. The player who has left the last few squares next to favourable neighbours wins the endgame. Count the remaining moves and work out whether you or the computer will fill each gap.
Sometimes the right play is to not capture. If capturing now opens a bigger capture for the opponent, placing a same-colour block and waiting a turn can be better. The final move of the game is often the biggest swing, so manoeuvre to be the one making it.
A worked example of a three-way capture
Imagine the top-left corner of the board. The square at row one, column two holds an opponent's red. The square at row two, column one holds an opponent's yellow. Both are primaries, both are exposed. You place blue on the square at row one, column one. That square shares an edge with the red to its right and the yellow below it. Blue beside red mixes the red into purple. Blue beside yellow mixes the yellow into green. Both squares become yours. You scored two secondaries with a single move, and the blue square you placed is sitting in the corner where it touches only two neighbours, making it hard for the opponent to mix on the following turn.
Now extend the idea. If a third opponent primary sat at row one, column zero and clashed with your blue, that would also mix, giving you three captures at once. Spotting these patterns before the opponent covers the empty square is the difference between a tight loss and a comfortable win.
Nothing about your game leaves this page
The computer player runs entirely inside the browser. No move, no board state, and no result is sent to a server. There is no account and no login. The game works offline once the page has loaded, and closing the tab leaves no trace anywhere except the high-score record stored in your browser on that device.