
Walking every square on a numbered grid
How the path is built, why the printed numbers are clues and constraints at the same time, what makes a grid of 25 or 49 squares surprisingly tricky, and the reasoning habits that solve boards without guessing.
The goal in one sentence
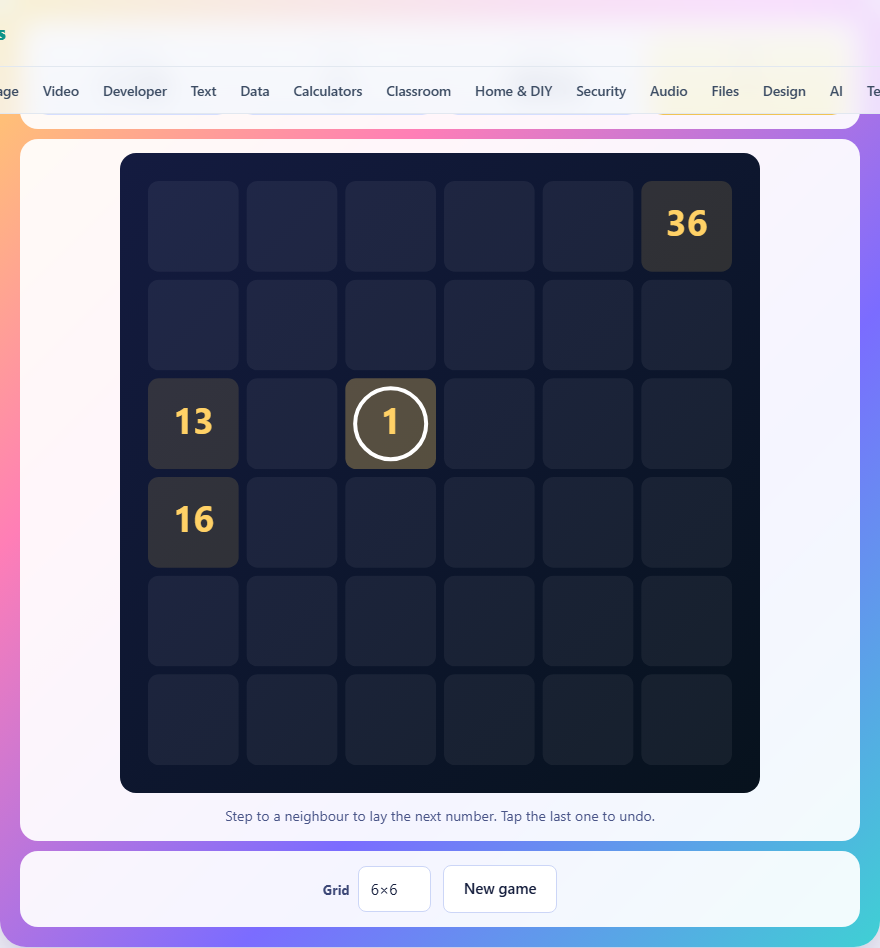
A grid of squares sits in front of you. A few of them have numbers printed on them, always including 1 and the total number of squares. Starting at 1, you step to a neighbouring square and the game lays down the next number. Keep stepping until you have walked through every square on the board, arriving at each printed number exactly when its turn comes.
Steps go up, down, left or right. Never diagonally. Every square must be visited exactly once. If you reach a dead end, you can undo steps by tapping the square at the head of your path.
What the printed numbers really tell you
The printed numbers are not decoration. Each one pins your path to a specific square at a specific moment. If you see a 12 printed three squares away from a 9, you know the path must travel exactly three steps between them and arrive at each on time.
This is the heart of the puzzle. The printed numbers carve your freedom down to one possible route. Some stretches have only one legal way through. Others let you wander, but only until the next printed number forces you back. Learning to spot which stretches are forced and which give you choices is most of the skill.
The three grid sizes
The 5 by 5 grid has 25 squares and gives you 150 seconds. It is the right place to learn the reasoning. The board is small enough that you can count distances by eye and spot forced stretches without writing anything down.
The 6 by 6 grid has 36 squares and gives you 170 seconds. The jump from 25 to 36 squares makes the path longer and gives each detour more room to go wrong. Printed numbers are spaced further apart, so you have to plan further ahead.
The 7 by 7 grid has 49 squares and gives you 190 seconds. Nearly every move matters here. One wrong turn early on can strand a corner square, and you will not discover it until 30 steps later.
Counting the gap between two printed numbers
This is the single most useful technique. Take two printed numbers that sit near each other. Subtract the smaller from the larger. The answer is how many steps you have to travel between them. Now count the shortest distance on the grid between those two squares, stepping only up, down, left or right. That is the minimum number of steps the path can take.
If the gap equals the distance, there is only one way through. The path must go straight from one to the other without any detour. Mark that stretch as solved in your head and move on.
If the gap is one more than the distance, you have exactly one spare step. That means one L-shaped detour. If the gap is two more, you have two spare steps. The more spare steps, the more possible routes, and the harder it is to choose. But the printed numbers on other parts of the board usually pin down the right choice.
Corners and edges decide early
A corner square has exactly two neighbours. The path must enter from one and leave by the other. There is no third option. This means a corner is always a sharp turn, and you can often decide when the path visits it before you decide anything else.
Edge squares have three neighbours. They are less constrained than corners but more constrained than interior squares. On a 5 by 5 board, 16 of the 25 squares are on the edge or in a corner. That means most of the board is already somewhat forced.
Look at the corners first. If a corner sits between two printed numbers and the gap matches the distance through it, the path must pass through that corner on the way. If the gap is too short to reach the corner, the path must visit it at a different time.
Never strand a square
The worst mistake in this puzzle is walking past a square and leaving it with no unvisited neighbours. Once that happens, you can never come back for it. The board requires every square to be visited, so a stranded square means you have to undo and try again.
Before you step, glance behind you. Is there a square that only touches your current path and one unvisited square? If so, that unvisited square must be your very next move, or the other one gets trapped.
This check takes a moment, but it prevents the most common dead ends. On the 7 by 7 grid, stranding is easy because the interior squares have four neighbours and it is hard to see at a glance which ones are about to be cut off.
Working from both ends at once
You do not have to solve the path in order. While your finger builds the path forward from 1, your eyes can read the board backward from the last number. The final square is printed, so you know where the path ends. Count backward from it. Which squares can it reach on its way there?
If the second-to-last number is not printed, there are only a few squares next to the end that the path could pass through in its final steps. Narrowing down those last moves often settles a large section of the board.
The same trick works for any gap. If you see a printed 18 and a printed 22, you know steps 19, 20 and 21 fill the space between them. Work from both sides of the gap toward the middle. Often the two ends meet with no room for choice.
Using the undo to test a theory
Tap the square at the head of your path and the last step is removed. Tap again to keep undoing. This is free and instant, so use it without hesitation.
When you face two plausible routes, pick one and walk it out for a few steps. If it dead-ends or strands a square, undo back to the fork and try the other way. The clock is generous enough to allow a few experiments, and a tested theory is better than a frozen guess.
On the larger grids, the clock does matter. Do your experiments early, while the path is short and undoing is cheap. Once you are 30 steps in, undoing ten of them costs real time.
Mistakes that cost the most time
- Rushing past a printed number. If your path step count does not match the printed value when you reach that square, the game blocks you. Check the number before you step onto it.
- Ignoring corners until late. A corner left unvisited while the path wraps around it becomes harder to reach with every step.
- Building the path from one end only. Working backward from the last number in your head, even roughly, catches dead ends before they happen.
- Forgetting to check for stranded squares. One glance behind your current position saves ten seconds of undoing.
- Treating spare steps as freedom. A gap with two spare steps feels loose, but the rest of the board usually forces exactly one route. Check the nearby printed numbers before assuming you can wander.
Why every board has exactly one solution
The board is built in reverse. A path that visits every square is drawn first, then numbered along its length. Numbers are removed one at a time, and each removal is tested. If removing a number would let a second path exist, the number stays. So the printed clues are the fewest possible that still force a single answer.
This means you can trust the puzzle completely. If you are stuck, you have not found the forcing yet. The clues are enough. You do not need luck or guessing.
Scoring and best times
Your score is the time left on the clock when you finish. More time remaining means a better score. The game saves your best score for each grid size in your browser. It is not sent anywhere and will not appear on another device.
A fast solve on the 5 by 5 grid takes about 40 seconds, leaving over 100 on the clock. The 7 by 7 grid is much tighter. Finishing at all is an achievement, and finishing with 60 seconds to spare means you read the board cleanly.
Everything stays on your device
The puzzle is generated and solved entirely in your browser. The grid is laid out on your machine, the path is verified on your machine, and no data goes to any server. You can disconnect from the internet after loading the page and the game works exactly the same way.