
Finding the one move that ends a chess game
Each puzzle shows a board where White can deliver checkmate in a single move. This article explains what checkmate actually requires, walks through how to read the board, and gives you a method for narrowing down the answer without guessing.
What checkmate means, precisely
Checkmate is two things at once. First, the king must be under attack. That is called check. Second, the defending side must have no legal response at all. No stepping the king to safety, no blocking the attack with another piece, and no capturing the piece giving check.
Most wrong answers in these puzzles fail on the second part. You deliver a perfectly good check, but the king walks one square sideways and the game goes on. The puzzle asks for something tighter than check. It asks for a position where every escape is sealed.
Understanding that difference is the whole skill. Once you stop looking for a check and start looking for a check with no answers, the puzzles get much easier.
How the board works
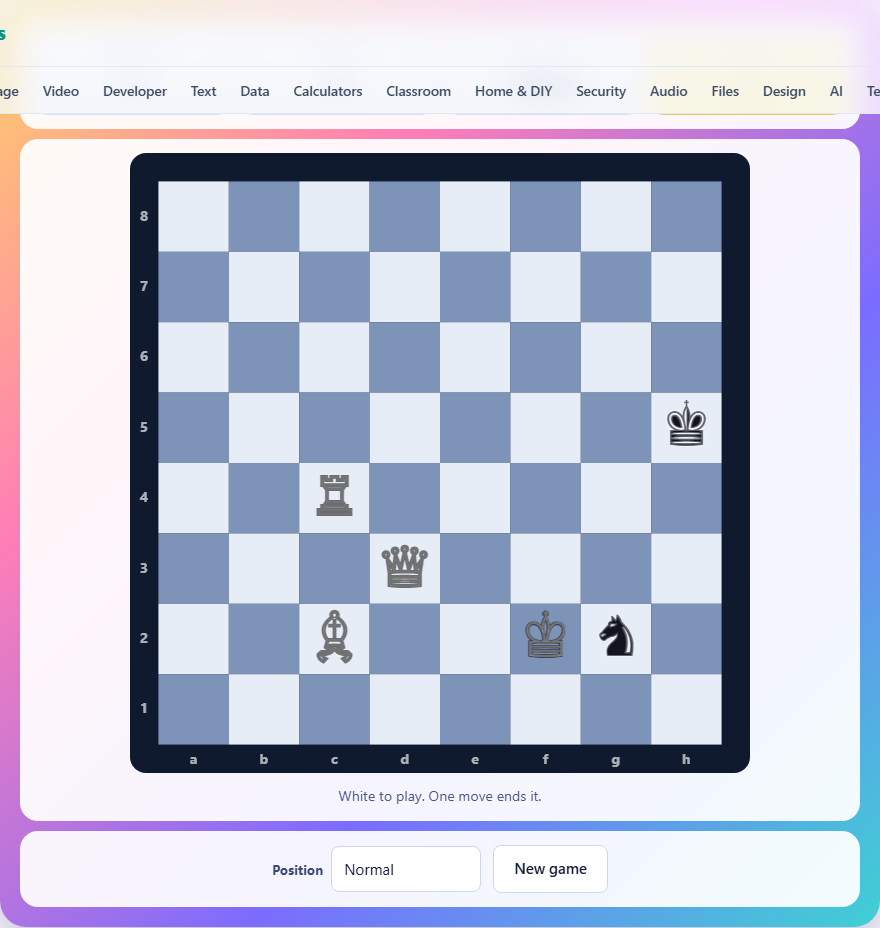
The board is drawn on a canvas with files labeled a through h along the bottom and ranks numbered one through eight up the side. White pieces are shown in white and black pieces in dark. The notation is standard chess: a1 is the bottom-left, h8 is the top-right.
Tap a white piece to pick it up. A green highlight appears on its square. Then tap the square you want to move it to. If you change your mind, tap the highlighted piece again to put it back.
When you make a move, the piece lands and the game tells you what happened. If it was checkmate, you win. If not, you get a message explaining why.
What the feedback tells you
A wrong move gets one of two responses. If your piece did not even give check, the message says so directly. That means the black king was not attacked at all, and you need to rethink which squares your piece controls.
The more useful response is when your move gives check but not mate. The game tells you how many ways Black has out of it. If Black has three replies, the position is nowhere close. If Black has one reply, you were almost right and a different checking move probably seals that last escape.
Each wrong move costs a try. You start with three or four tries depending on the difficulty. When they run out, the game reveals the answer.
Difficulty settings and what they change
The three settings control how many pieces appear on the board. Few pieces gives you two extra white pieces and no extra black pieces beyond the two kings. Normal adds a third white piece and one black defender. Crowded board uses four white and two black extra pieces.
More pieces makes the puzzle harder in two ways. There are more possible moves for White to consider, and the extra black pieces create more blocking and capturing options that might save the black king. The timer also gets longer to account for this: 120 seconds for few pieces, 150 for normal, and 180 for a crowded board.
Start with few pieces if you are new to checkmate puzzles. With only two kings and two white attackers, there are very few moves to consider. Once you can solve those without using all your tries, move up. The crowded board is genuinely difficult even for experienced players.
A method that works every time
Start by looking at the black king. Count its flight squares. A flight square is any adjacent square that the king could legally step to if it were attacked. Squares occupied by black pieces and squares controlled by white pieces are not flight squares.
A king in the corner has at most three adjacent squares. A king on the edge has five. A king in the open has eight. The fewer flight squares, the fewer things your checking move needs to block.
Next, list every check White can deliver. Go through your pieces one at a time and ask whether any of them can move to a square that attacks the king. There are rarely more than four or five checking moves, and often only two or three.
For each check, walk through the three defences. Can the king step away? Can a black piece block the line? Can a black piece capture the checker? If the answer to all three is no, that check is checkmate.
Why quiet pieces matter more than you expect
The piece that delivers the check gets the glory, but the pieces that stay still are often doing the real work. A rook sitting on the same file as the black king does nothing dramatic, but it takes away every square on that file as a retreat.
When you look at a puzzle, pay attention to which squares are already controlled by white pieces that will not move. Those are squares the black king cannot flee to. Your checking move only needs to cover whatever is left.
Picture a black king on h8. A white rook on h1 already controls the entire h-file. A white bishop on f6 covers g7. The king cannot go to g8 if anything controls that square. Your job is to find a check that covers g8 as well. The answer might be a knight landing on f7, giving check and covering g8 at the same time.
The capturing trap
A common mistake is moving your checking piece right next to the king without making sure the square is defended. If a white queen lands on a square touching the king and nothing else protects that square, the king simply takes the queen.
Before you place a piece next to the king, trace a line from every other white piece to that square. If at least one of them covers it, the capture is illegal and the check sticks. If none of them covers it, the king eats your piece and your try is wasted.
This trap catches players who focus only on the attacker and forget about the supporting cast. The fix is simple: before you commit to a move that lands next to the king, count the defenders on that square. If the number is zero, pick a different check.
Special rules in these puzzles
Castling is not allowed. Castling depends on whether the king and rook have moved earlier in the game, and since these positions are generated from scratch, there is no game history to check.
En passant is not available for the same reason. It requires knowing what Black just did on the previous turn, and there is no previous turn.
A pawn that reaches the far rank promotes to a queen automatically. You do not get to choose another piece. In practice this rarely matters, because a queen is the strongest choice almost every time.
Mistakes that waste tries
- Moving without counting the black king's escapes first. If you do not know how many flight squares the king has, you cannot know whether your check covers all of them.
- Checking from far away with a bishop or rook when the line can be blocked. Sliding pieces give check along a line, and any black piece that steps into that line breaks the check. Knights avoid this problem because their attack cannot be blocked.
- Forgetting that a pawn attacks diagonally, not forward. A pawn one square in front of the king gives no check at all. A pawn one square diagonally from the king does.
- Ignoring the timer. On a crowded board you have three minutes, which feels like plenty until you spend two of them on the first wrong guess. If you do not see it in thirty seconds, slow down and use the method.
Everything stays on your machine
Every position is generated in the page itself. No chess database is queried, no puzzle is fetched from a server. The engine scatters pieces at random, tests every legal white move, and keeps only those layouts where exactly one of them is checkmate.
Your score, your streak, and your best result live in your browser and go nowhere else. You could disconnect from the internet after the page loads and solve puzzles all afternoon. The positions will never repeat because they are built fresh each time, not pulled from a fixed list.