
Finding every wreck on the seabed with logic and a handful of pings
A complete guide to Echo, the sonar deduction puzzle where every ping tells you the distance to the nearest hidden wreck. Covers the rules, the three board sizes, how to read a diamond of possibilities, and how to locate wrecks that hide behind other wrecks.
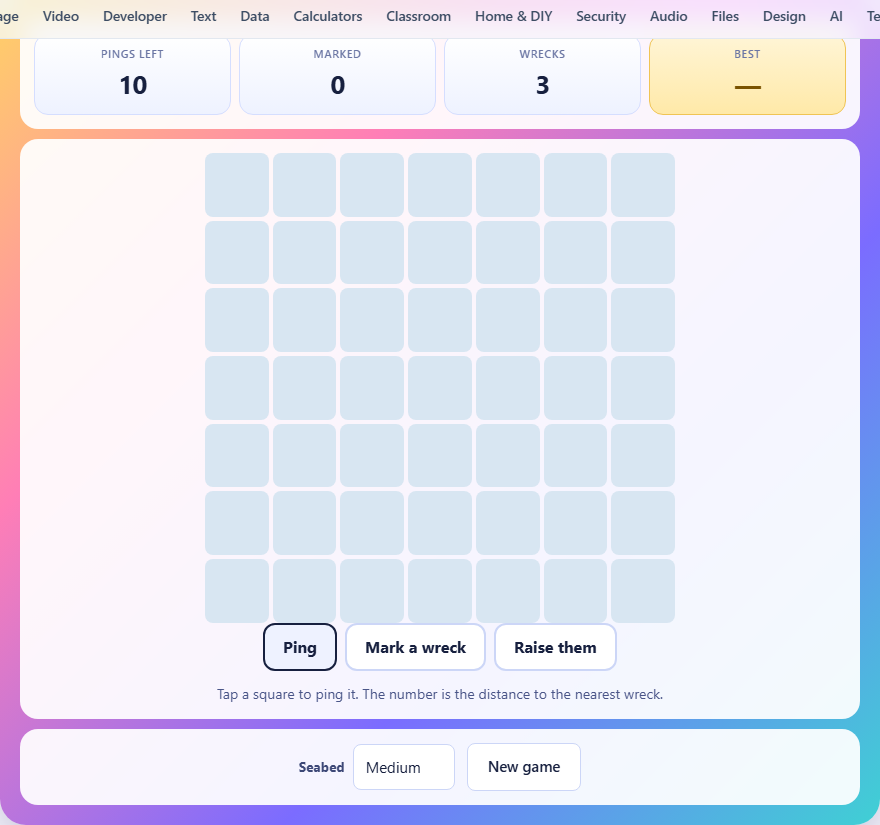
What the game asks of you
Wrecks sit hidden on a grid. You cannot see them. All you have is a sounder that, when you ping a square, tells you how far away the nearest wreck is. The distance is counted in steps along the grid, up, down, left or right. Diagonal steps do not count. A square that is two columns across and one row up from a wreck is three steps away, not two.
A reading of zero means you are right on top of one. A reading of four means the nearest wreck is exactly four steps away, and every square within three steps of where you pinged is empty. Your job is to figure out where all the wrecks are, mark them, and raise them.
You have a fixed number of pings. Use them up and you can still mark and raise, but you will be guessing. The puzzle is solvable with fewer pings than you are given, so careful thinking beats shotgun pinging every time.
The three board sizes
Small gives you a six by six grid with two wrecks and eight pings. Medium is seven by seven with three wrecks and ten pings. Large is eight by eight with four wrecks and twelve pings.
The difficulty does not just come from having more wrecks. A bigger board means each ping covers a smaller fraction of the space, and more wrecks means more situations where one wreck hides behind another. Start with the small board until the diamond method feels natural, then move up.
Controls and how the three modes work
The game has three modes, each tied to a button below the board. Ping is the default. Tap any square in ping mode and the sounder returns a number. That number stays on the square so you can see all your readings at once.
Mark a wreck switches to marking mode. Tap a square to place a mark on it, and tap again to remove the mark. You can place exactly as many marks as there are wrecks on the board. If you try to place one too many, the game tells you to lift one first.
Raise them checks your answer. You must have marked exactly the right number of wrecks before raising. If every mark sits on a wreck, you win and the game reports how many pings you used. If any mark is wrong, the game shows the real wreck positions with anchor symbols so you can see where you went wrong.
The game will not let you ping a square you have already pinged. That saves you from wasting a ping by accident. A new game button starts a fresh board.
Diamonds and how to cross them
A reading of three means the nearest wreck is somewhere exactly three steps away. Picture all the squares that are three steps from where you pinged. They form a diamond shape around that point. The wreck must be on one of those squares, or further away if another wreck is closer.
A single diamond gives you a ring of possibilities. Two diamonds from different pings often cross in just one or two places. Those crossings are where the wrecks most likely sit.
Here is a worked example. You ping the top left corner and get a reading of four. You ping the square three to the right and get a reading of two. The diamond of four around the corner and the diamond of two around the other ping overlap on only a small number of squares. If one of those squares also fits a third reading from somewhere else on the board, you have almost certainly found your wreck.
The wreck-behind-a-wreck problem
The sounder only reports the distance to the nearest wreck. If two wrecks sit on opposite sides of the board, a ping in the middle might only tell you about the closer one. The second wreck is invisible from that position.
This is why you should spread your pings out. If all your pings land in one area, they all report on the same nearby wreck and tell you nothing about any others. Ping from the far corners, the far edges, and the middle. Each vantage point has a different nearest wreck, and the picture fills in faster.
Once you have found one wreck, avoid pinging next to it. The answer will just be one, because the known wreck is still the closest thing. Move to the other side of the board where a different wreck might be the nearest one.
Start in the corners
A corner ping is the most valuable first move. A corner has fewer squares at each distance from it than a centre square does. That means a reading from a corner narrows things down more sharply.
On a seven by seven board, the corner can only see three squares at distance one, five at distance two, and seven at distance three. A centre square sees four at distance one, eight at distance two, and twelve at distance three. The corner tells you more because fewer squares match the reading.
A good opening is to ping two opposite corners. You get two diamonds from far apart, and their overlap often points straight at a wreck. Then put one or two pings in the middle region to check the remaining space.
Using large readings to clear space
A large reading is worth more than a small one. A reading of five says that every single square within four steps of your ping is empty. On a smaller board, that can clear a quarter of the grid in one shot.
Small readings are less helpful because they leave many possibilities open. A reading of one means the wreck is in one of the four squares right next to you. That is useful, but only four squares are eliminated. A reading of six eliminates dozens.
When you are running low on pings, place the last ones where a large reading would help most. An area with no information is worth checking, because even a large number tells you the whole region is clear and pushes your search elsewhere.
Wreck spacing and what it means for you
Wrecks are never placed within three steps of each other. The game does this so that every board is solvable. If two wrecks were side by side, no ping anywhere on the board could tell them apart, because the sounder only ever reports the nearer one. Keeping them three apart means there is always an angle from which each wreck is the closest thing to your ping.
This spacing rule also means you can safely eliminate a ring of squares around any wreck you have confirmed. Once you know a wreck is at a certain spot, no other wreck can be within two steps of it. That trims the search area for the remaining wrecks.
Nothing on the board moves once the game starts. Every reading you see is computed from the real layout, and your marks are checked against it. A failed attempt fails honestly, and a correct one was always correct.
Common errors and how to avoid them
- Pinging in clusters. Readings from nearby squares tell you almost the same thing. Spread out.
- Pinging beside a known wreck. The answer will be one, and that one is the wreck you already found.
- Forgetting to mark a wreck at a zero reading. A reading of zero means you are on top of one, but you still have to switch to mark mode and place the mark before raising.
- Raising with too few marks. The game requires exactly as many marks as there are wrecks before it lets you check.
- Ignoring what a reading rules out. A reading of four does not just tell you where the wreck might be. It tells you that every square closer than four steps is empty. That negative information is just as useful.
- Trying to ping a square twice. The game blocks it, but the impulse to double check wastes thinking time. Trust your readings and work with what you have.
No data leaves your device
The seabed is generated and checked entirely inside your browser. Every reading comes from the real wreck positions stored in memory on your machine. Nothing is sent anywhere. You can load the page, turn off the network, and keep playing, because the game has no server to talk to.