
Solving the binary puzzle step by step
The binary puzzle gives you a grid and two colours. Three rules control what goes where: no three of the same colour in a row or column, equal numbers of each colour in every line, and no two rows or columns may match. Every puzzle has exactly one solution, so guessing is never needed. This guide covers the rules, the controls, and the step-by-step logic that fills even the hardest boards.
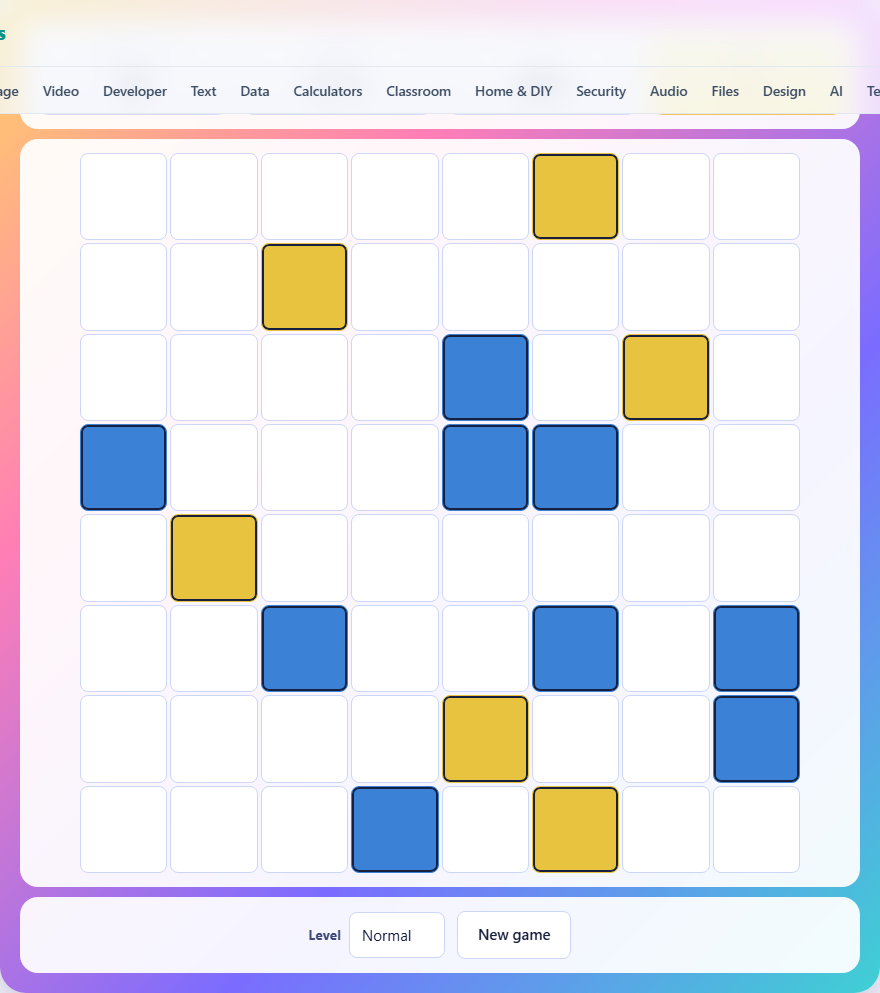
The three rules
The first rule is the triplet ban. Three squares of the same colour in a row along any line, horizontal or vertical, are forbidden. Two in a row are fine. Three are not. This applies inside rows and inside columns equally.
The second rule is balance. Every row must end up with the same number of squares in each colour, and every column must do the same. On a six-by-six board, that means three of each colour per line. On an eight-by-eight board, four of each. On a ten-by-ten board, five of each. If you have placed half the required count of one colour in a row, every remaining empty square in that row must be the other colour.
The third rule is uniqueness. No two rows may be identical, and no two columns may be identical. Two rows that happen to have the same sequence of colours from left to right are not allowed, even if each row individually follows the first two rules. This rule usually matters at the very end, when only a few squares are left and you need to pick the arrangement that keeps every line distinct.
How the controls work
Tap any empty square to cycle it. The first tap fills it with the first colour. The second tap switches it to the second colour. The third tap clears it back to empty. You can change any square at any time, whether or not it was given as a starting clue, though changing a clue square will count as a mistake.
The Level menu offers three settings. Easy gives a smaller grid with more starting clues, which is ideal for learning the rules. Normal is the standard challenge. Hard gives a larger grid with fewer clues, which demands longer chains of reasoning. The New game button generates a fresh puzzle at the chosen level. Your mistakes are counted, and you are allowed five before the game ends.
The pair rule: two in a row forces the neighbours
This single technique solves the majority of the grid. Whenever you see two squares of the same colour sitting next to each other, the squares at both ends of the pair must be the other colour. If they were the same, you would have three in a row, which breaks rule one.
Look at every row and every column for adjacent pairs. Each pair gives you two free placements. On a fresh puzzle, scanning for pairs and filling in their forced neighbours is the fastest way to start. After those placements, new pairs often appear because the squares you just filled create their own adjacency, which gives you another round of forced fills. Keep scanning until no more pairs produce new information.
The sandwich rule: same colour on both sides
Sometimes two squares of the same colour are not next to each other but have one empty square between them. That empty square must be the other colour, because filling it with the same colour would create three in a row. This is sometimes called the sandwich pattern: same colour, gap, same colour. The gap is forced.
Sandwiches are easy to miss because the two coloured squares are not touching. Train yourself to scan for them right after scanning for adjacent pairs. Between these two techniques, you can usually fill the first half of any board without any harder reasoning at all. On an easy puzzle, pairs and sandwiches alone may be enough to finish the entire grid.
Counting to fill the rest
Once pairs and sandwiches stop producing new fills, switch to counting. Look at each row and count how many squares of each colour are already placed. If a row on a six-by-six board already has three blue squares, every remaining empty square in that row must be the other colour. The same logic applies to columns.
Counting is especially powerful near the end of the puzzle. A row that needs only one more square of a particular colour leaves only a few possible positions for it, and the triplet ban usually narrows those positions to just one. Combine counting with the pair and sandwich rules and you can fill most boards without ever looking at the uniqueness rule.
The uniqueness rule and when it matters
The uniqueness rule says no two rows may be identical and no two columns may be identical. In practice, this rule rarely comes into play until the puzzle is nearly complete. At that point, you may have a row that is fully determined except for a pair of squares that could go either way without breaking the triplet or balance rules. The uniqueness rule settles it: one arrangement would duplicate another row, so you must choose the other.
To check for this, compare rows that look similar. If two rows already match in every filled position and each has the same empty squares left, they are heading toward a collision. Place the remaining squares in the only arrangement that keeps them different. The same logic applies to columns. Most puzzles need the uniqueness rule only once or twice at the end.
Strategy: work from the most filled line
When you are not sure where to look next, find the row or column with the fewest empty squares. A line with only two gaps has very few possible completions, and usually only one of them satisfies all three rules. Fill it, then move to the next most complete line.
This approach keeps you in control because each placement reduces the options for the crossing lines. A square you place in a row is also a square in some column, and that column is now one step closer to its own balance limit. The puzzle tends to unravel once you fill the tightest lines first, because each fill makes the remaining lines tighter as well. This is especially true on larger boards where the number of choices looks overwhelming at first glance but shrinks rapidly once the tightest lines fall into place.
Common mistakes beginners make
The first mistake is forgetting to check columns. Players focus on rows because they read left to right, but columns follow the same rules. A pair in a column forces its vertical neighbours just as a pair in a row forces its horizontal ones. Scan both directions each time.
The second mistake is guessing. Every puzzle is generated with exactly one solution, and the clues are always enough to find it through logic alone. If you feel stuck, you have missed a pair, a sandwich, or a counting constraint somewhere. Go back and scan every row and column again rather than guessing, because a wrong guess can cascade into several wrong squares before you notice. You only get five mistakes before the game ends, so careless guesses are costly.
The third mistake is ignoring the uniqueness rule until it is too late. If you reach the end and two rows are identical, you have to undo work. Glancing at nearly complete rows earlier can save that rework.
How the puzzle is built
The generator starts with a fully solved grid that obeys all three rules, then removes clues one at a time. After each removal, it checks whether the remaining clues still lead to exactly one solution. If removing a clue would make the puzzle ambiguous, that clue stays. This process guarantees that you never have to guess.
The number of clues left on the board controls the difficulty. Easy puzzles keep more clues, so the pair and sandwich rules carry you almost to the end. Hard puzzles strip more away, which means you need longer chains of reasoning and more use of counting and uniqueness. The underlying logic is the same at every level; only the length of the chain changes.
Privacy and how the game runs
The entire game runs inside your browser. Nothing is uploaded, there is no account, and no data leaves your device. Your best score is stored in local browser storage on this device only. Once the page has loaded, the game works offline.