
A full design workshop that lives in one browser tab
This guide walks through the design editor from a blank canvas to a saved image. You will meet the toolbar and the two side panels, and learn how objects are shaped, arranged and stacked. It covers starting sizes, text, shapes, images and codes, working in pages, and the gap between exporting a picture and saving a project. A worked example ties it together near the end.
What this editor is for
This is a canvas you fill with text, images and shapes, arrange to taste, and export as an image at any size. It is the tool to open when a single-purpose maker is too narrow and you want a free hand.
The uses are wide. A video cover, a business card printed front and back, a poster for a noticeboard, a book cover, a square post for social feeds, a certificate. Anything that ends up as a flat picture can be built here, without a program to install or an account to make.
Two ways to begin
Press Templates for a gallery of ready-made designs, grouped by job: video covers, social posts, business cards, posters, book and album covers, flyers, certificates and more. Each opens fully editable, so you swap the words, colours and sizes for your own. They are drawn by the page itself, not fetched from anywhere, so browsing costs nothing.
Or set the size yourself. The Canvas size menu holds presets with the right pixels already filled in, such as an Instagram post at 1080 by 1080, a business card at 1050 by 600, or A4 at print resolution. Type your own width and height instead if you prefer. Rotate swaps the two, and Apply commits the change. Leave Scale the design to match ticked and everything on the canvas grows or shrinks with it, so the design keeps its look at the new size.
Putting things on the canvas
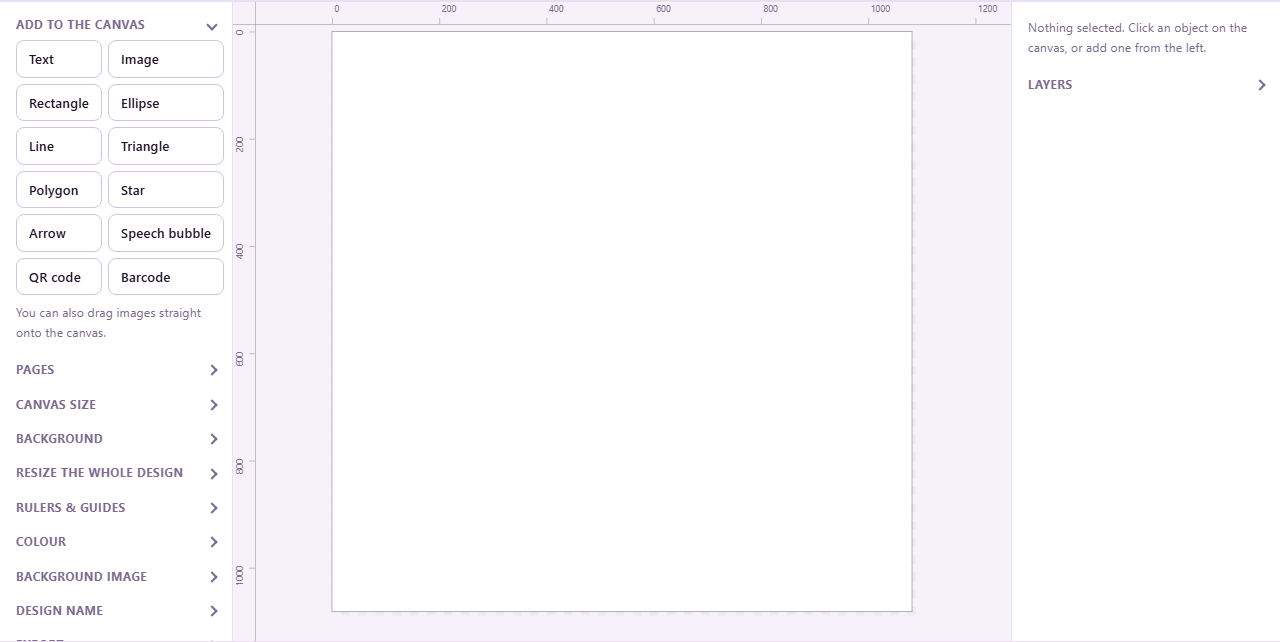
The left panel has a row of buttons for adding objects. Text drops in an editable line. Image opens a file picker, and you can also drag picture files straight onto the canvas. Then come the shapes: Rectangle, Ellipse, Line, Triangle, Polygon, Star, Arrow and Speech bubble.
Below them, the Decorative shapes panel holds 71 more, in seven groups from nature to lines and patterns, each button drawn as the shape it adds, and a search box finds one by name or by a word such as leaf or party. Among them are a heart, a balloon on its string, leaves, a monstera and a palm frond, a cherry blossom and a lotus, a butterfly, a sun, a crescent moon and a ringed planet, a laurel wreath, an award rosette, a crown, a gem, folded and curved ribbon banners, a postage stamp, a vintage label, speech and thought bubbles, sunburst rays and a dot grid. They are built from curves rather than pictures, so they stay crisp at any size, stretch to any proportion, and take every fill, gradient, border and shadow a rectangle does.
Two more buttons add codes. QR code makes the square pattern a phone camera reads, handy for a link on a poster. Barcode makes the stripe kind used on tickets and labels. Both are stored as their contents, not as a flat picture, so they stay razor sharp at any size and you can edit the text inside them whenever you like.
Moving, arranging and stacking
Drag an object to move it. Pull the square handles to resize, holding Shift to keep its proportions so a photo is never squashed. A round handle above an object spins it. Faint pink lines appear as edges line up. Arrow keys nudge a selection a pixel at a time, or ten pixels with Shift held.
The Align buttons snap things to the left, centre, right, top, middle or bottom, and can spread several evenly. Group ties two or more objects into one, so they move and lock together. Layer order controls which object sits in front: Front, Up, Down and Back, or the bracket keys, with Shift to jump all the way. The Layers list on the right shows the full stack, top item first, and the Position and size boxes let you type exact figures for place, width, height and rotation.
Styling text
Select a text object and the right panel fills with its controls. There is a box for the words, a font menu of built-in typefaces, and a button to load a font file from your own device if you need an exact one. Size and weight sit side by side, from light through to black.
There is more. A Style menu swaps your letters for look-alike characters in bold, script, gothic, outline and other faces, which survive as part of the exported image. Colour, alignment, line height and letter spacing are all here. Italic and Underline are simple tick boxes. Curve bends a line of text along an arc. Outline, with its own colour and width, draws an edge around each letter, which keeps pale text readable over a photo.
Shapes, images and codes in detail
A selected shape offers a Fill colour and, if you tick Gradient, a second colour with an angle, blending one into the other. Depending on the shape, you also get Corners for rounding, Sides for a polygon, Point depth for a star, shaft and head sliders for an arrow, or the setting that makes a decorative shape what it is: Petals for a flower, Rays for a sun or a sunburst, Leaf pairs for a sprig or a wreath, Flags for bunting, Turns for a spiral, Hole size for a ring. A Border colour and width complete it.
A selected image can be set to fill its box and crop, fit inside, or stretch. You can round its corners, or clip it to a shape such as a circle, a star, a heart, an arch, a scalloped badge or a postage stamp. Crop trims to a part of the picture, either by dragging on the canvas or by typing percentages. A row of Adjust sliders handles brightness, contrast, saturation, blur, black and white, and sepia. A code object lets you set its Contents, its Type, an error-recovery level, and the ink and paper colours, and choose whether to keep the quiet margin and print the digits below. Any object can also take a Transparency level, a Blend mode, and a Drop shadow with its own blur and offset.
Background, colour and guides
The canvas background has its own colour, and a Transparent tick box that shows a checkerboard where the canvas is see-through, for a cut-out logo. Background image places a photo behind everything; you drag and resize it, press Fit to canvas for an exact fill, and tick Lock the background so clicks fall through to the objects on top and it cannot be nudged by accident.
Pick a colour reads the exact shade of any pixel on your design, gradients and photos included, and applies it to the selection. Colours from picture pulls a small set of shades out of an image to build a palette. Rulers and guides let you drag guide lines out of the rulers for objects to snap to. And Resize the whole design scales the canvas and everything on it together, so a screen-size layout can be lifted to print resolution without redoing any of it.
Working in pages
A design can hold more than one page. The Pages strip on the left lets you Add a page, Duplicate the current one, Delete it, or move it left and right in the order.
This is how a two-sided job lives in one file. The front and back of an ID card, both sides of a menu, every leaf of a booklet: all in one project. On export, each page comes out as its own image, so a two-page card gives two files at once.
A worked example: a business card
Open the Canvas size menu and choose Business card, which sets the canvas to 1050 by 600. Press Text and type a name, then drag it to the top left. Press Text again for a job title and a phone number on the line below.
Add a Rectangle, make it a thin strip, colour it, and send it to the back so it runs as a stripe down one edge. Press QR code, and in Contents type your web address, so a phone opens it with a tap. Line the text up with the Left align button, and check the stack in the Layers list.
Set the export Format to PNG and Scale to 4x, which turns the 1050 by 600 card into a crisp 4200 by 2400 image the printer will love. Press Export image. Finally, press Save project to keep a file you can reopen and change another day.
Exporting the image
The Export group on the left sets how the picture comes out. Format offers PNG for sharp text and transparency, JPEG for small photo-heavy files, WebP for a balance of the two, and SVG for a vector copy. Scale multiplies the pixel size from a half up to four times, without changing your layout, so a 1280 by 720 canvas at 2x saves as 2560 by 1440.
For JPEG and WebP a Quality slider trades file size against detail. Keep background transparent holds the see-through areas in PNG and WebP, though JPEG has no transparency and falls back to the background colour. Design name sets the file name. Export image saves the current page, while Export all pages writes one file per page at once.
Exporting a picture is not saving your work
This is the one thing to understand. An exported image is a flat picture; you cannot reopen it and move the text again. The project file is what keeps your work editable. Press Save project to download an .orchid file, and Open project, or a drag onto the canvas, to carry on later exactly where you stopped.
The tool also helps quietly. It writes a recovery copy into this browser about once a second, so a refresh or a crash reopens your design where you left off, and it warns you before you leave with unsaved changes. Undo and Redo step back and forward through your edits, and New starts a fresh blank canvas. Still, a project file is the only copy you can move to another computer or keep safe against clearing your browser.
Mistakes, other tools, and your privacy
A few things catch people out. A photo that looks squashed was resized without holding Shift. An object that will not move is locked, or is the background before you unlock it. A shape you cannot see is behind another, so bring it to the front. A project file that runs to many megabytes is normal too, since the photos travel inside it.
If you only need one fixed thing, a single-purpose maker is quicker: the Thumbnail Maker for a video cover, or the ID Card Maker for a badge. For heavy photo edits, tidy the picture first and bring it back. Whatever you make, it stays with you. Your images are read into this tab and drawn on the canvas here; nothing is uploaded, and you can disconnect from the internet once the page has loaded and keep working to the end.